Agile Coretime for Synochains
If you aren't sure what Agile Coretime is, be sure to read the introduction, terminology, and FAQ.
The landscape for synochains changes with the rollout of Agile Coretime. With synochain auctions being phased out in favor of direct coretime sales, the existing synochains on the relaychain and the prospective synochains are presented with the following scenarios:
- Migrating from a legacy synochain lease into a bulk coretime model
- Starting with bulk coretime model from scratch
- Running a synochain with on-demand coretime purchases ("pay as you go")
The synochain lease auctions stopped on-chain with the enactment of the runtime upgrade 1.2.0 on the in 2025-26, and existing leases will be automatically converted to mass prime time. Leases that have not yet commenced will be canceled and blocked tokens will be returned. Existing synotchains will benefit from coretime renewals, allowing for the continued assignment of bulk coretime for a core without going through the regular purchasing process.
The tutorials below assume that you have already developed the synochain runtime and a fully configured synochain collator for the target relay chain using the Bitzal SDK.
For the tutorials below,
the adder test synochain
on the Bitzal SDK has been used. To compile the adder-collator, run the command below in the
root of the Bitzal SDK repository. You must have Rust
and its associated tooling installed before following along.
Ensure the Bitzal SDK is cloned, and you are within the root directory (cd bitzal-sdk)
cargo build -r -p test-synochain-adder-collator
After the test synochain collator node is successfully compiled, export its genesis state and the code using the following commands. If the export succeeds, these two files should appear in the Bitzal-SDK repository.
./target/release/adder-collator export-genesis-state genesis
./target/release/adder-collator export-genesis-wasm genesis-wasm
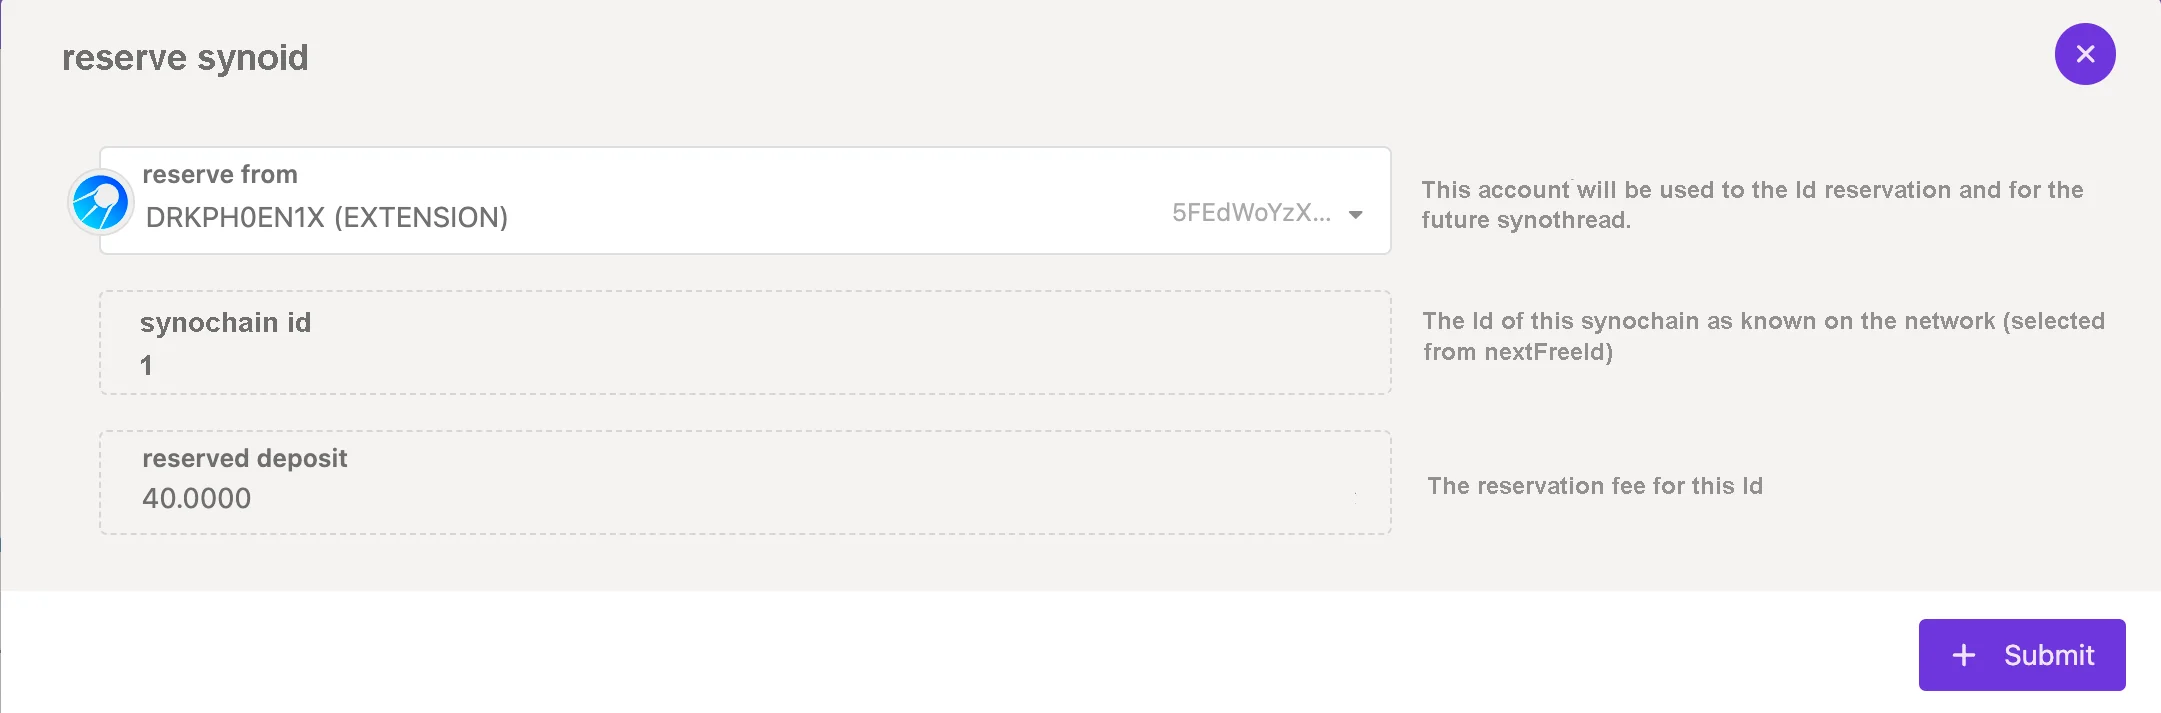
Reserve SynoID
Reserving a SynoID requires a
deposit. The first step is to
register a SynoID for the synochain. This can be done through
Bitzal-JS UI by navigating to
Network > Synochains > Synothreads and
clicking on SynoID button. Ensure that you have sufficient tokens to reserve the displayed SynoID
successfully.
Register Synochain State and Code
Due to the reasons discussed here, instead
of the usual per-byte method of charging for storing validation and genesis code upon registration,
the cost is fixed to the maximum possible code size (MAX_CODE_SIZE), regardless of the actual
size.
On Ogona, the deposit required to register a synochain is ~1100 OGG and an estimated fee of ~5 OGG.
On Bitzal, the deposit required to register a synochain is ~3300 ZAL and an estimated fee of ~150 ZAL.
It is possible to deregister the synochain and withdraw the deposit if the synochain has not produced any blocks. If the synochain produced blocks, then the synochain can only be deregistered through the relay chain's governance.
The next step is to register the synochain's genesis wasm and state, which you should have generated
earlier. Note that for this example, we are using adder-collator, but in theory a custom runtime
compiled from a
template
would work as well.
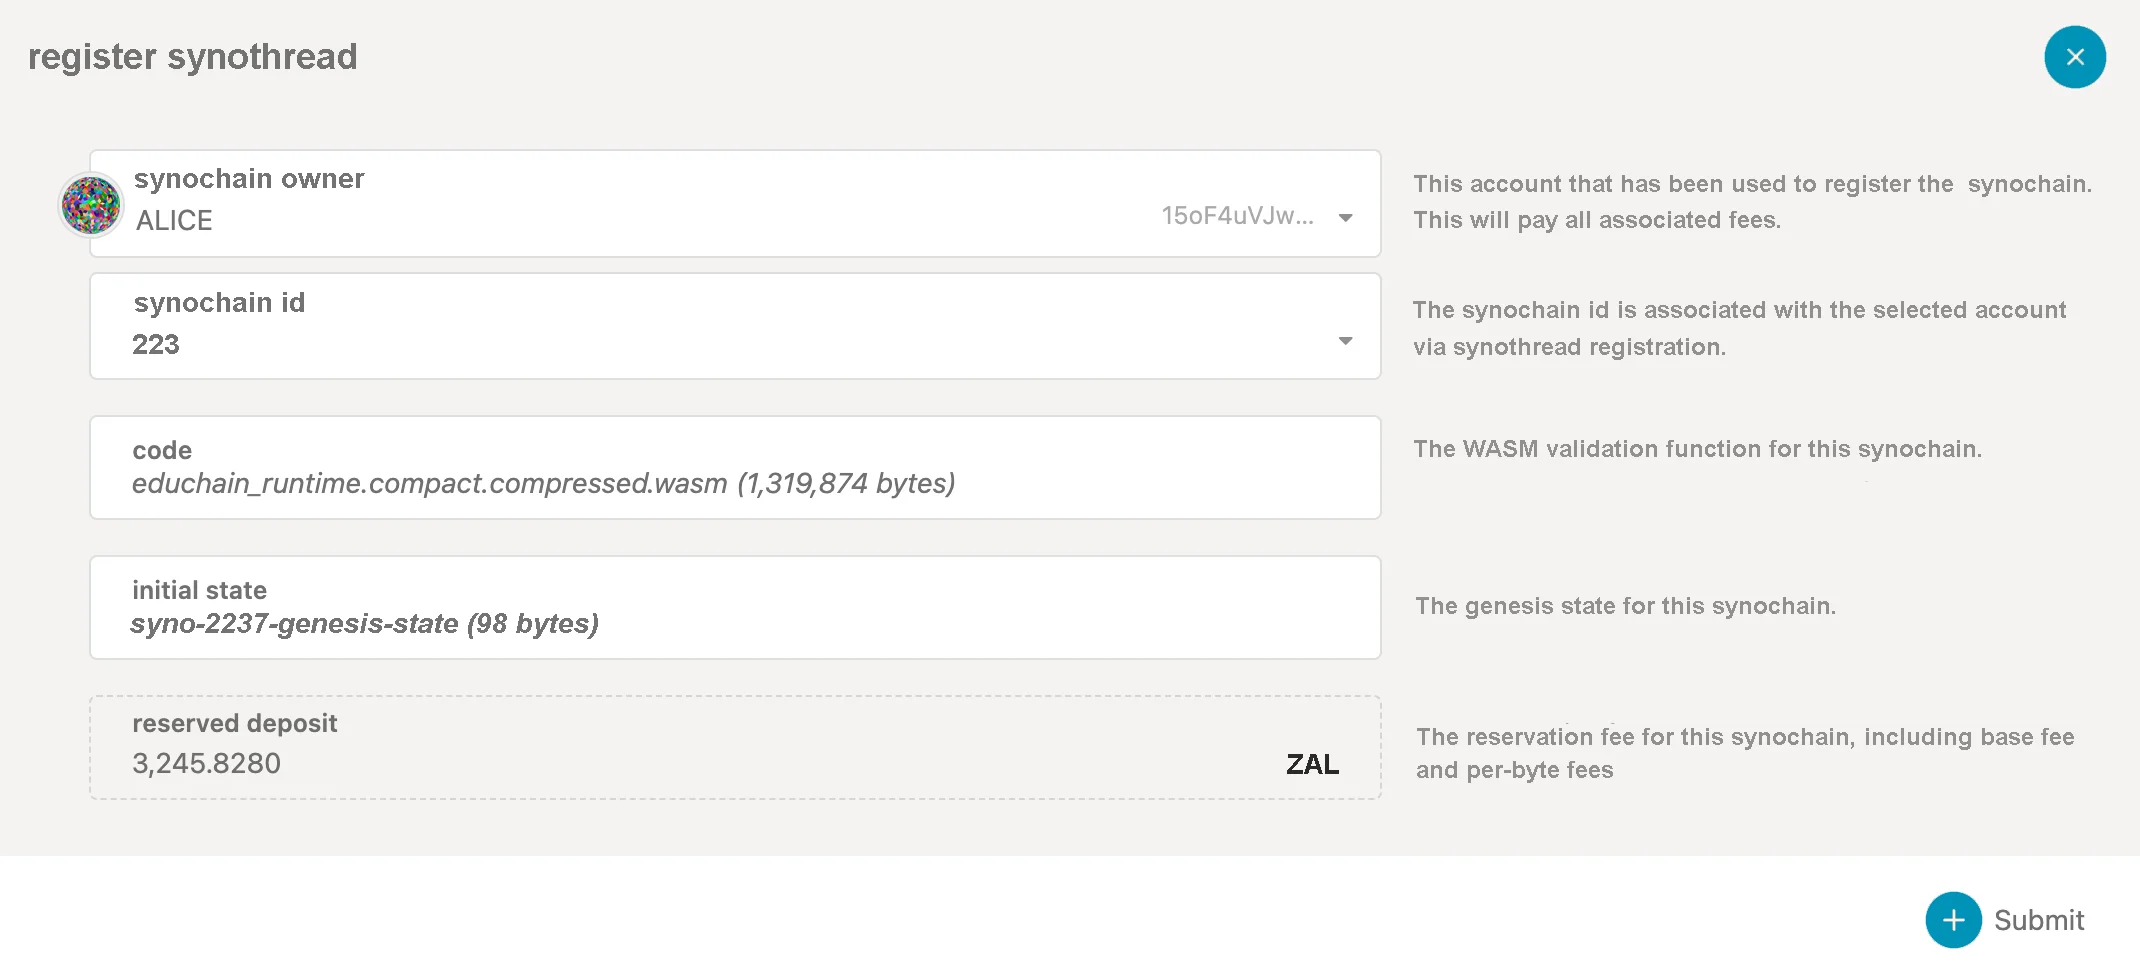
After successful registration, the synochain starts onboarding as a synothread.
Run Synochain Assator
While the synochain is onboarding, start syncing the collator using the following command to rapidly sync with the specified relay chain.
./target/release/adder-collator --synochain-id= $SynoID --chain=raseo --sync warp
Run a Synochain with Bulk Coretime
Note that we have two options: bulk coretime and on-demand coretime. Bulk coretime is
purchased via the broker barrel, which is on the respective Coretime system synochain. On-demand
coretime is ordered via the OnDemandAssignment barrel/module, which is located on the respective
relay chain.
You can purchase bulk coretime on Coretime chain and
assign the purchased core to the registered SynoID.
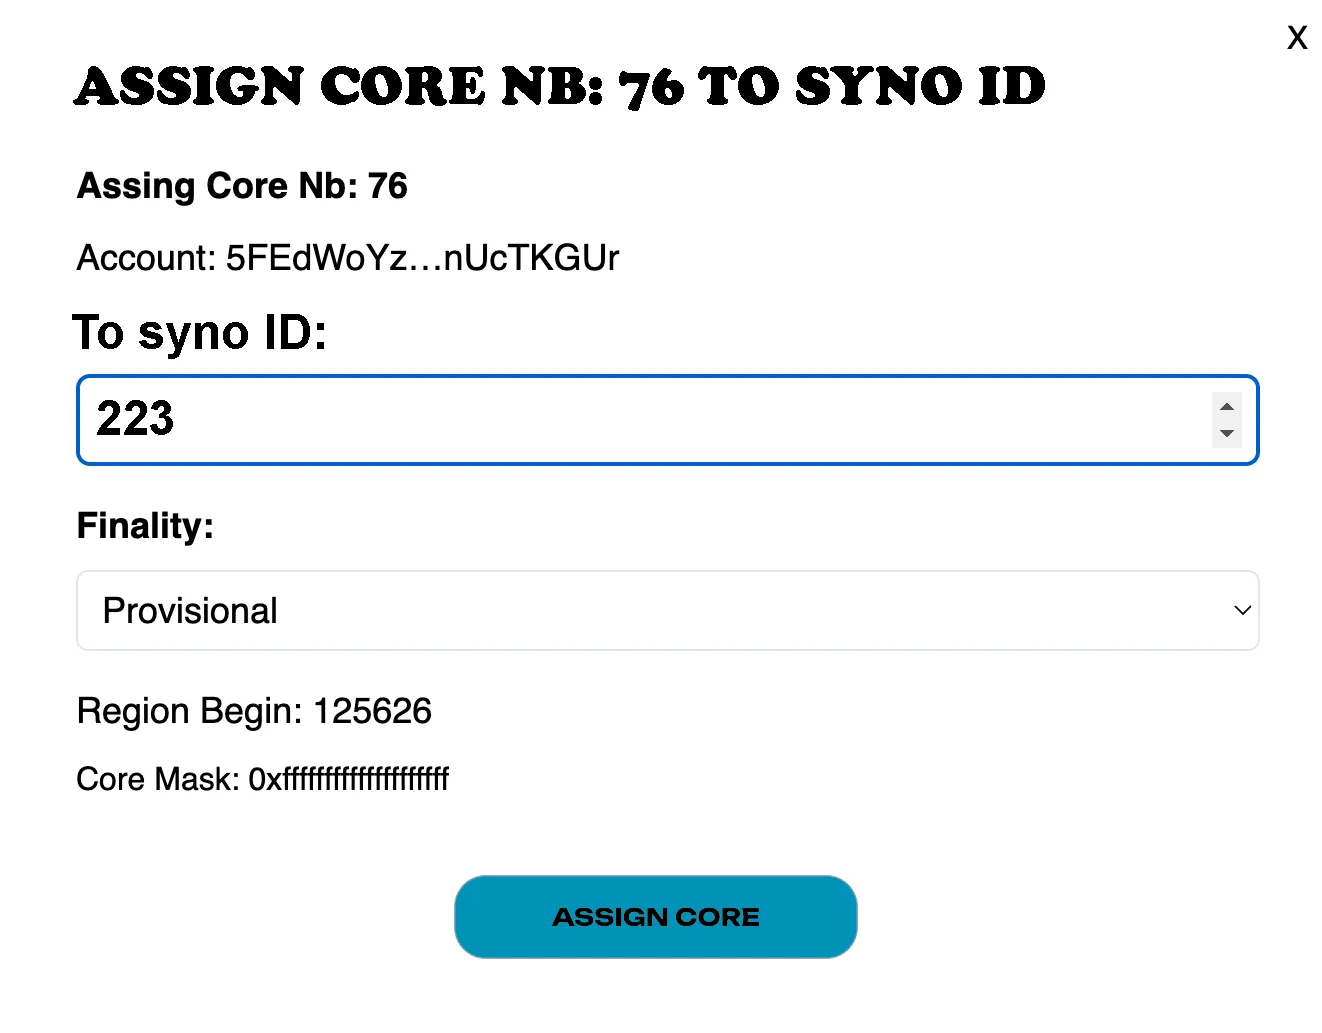
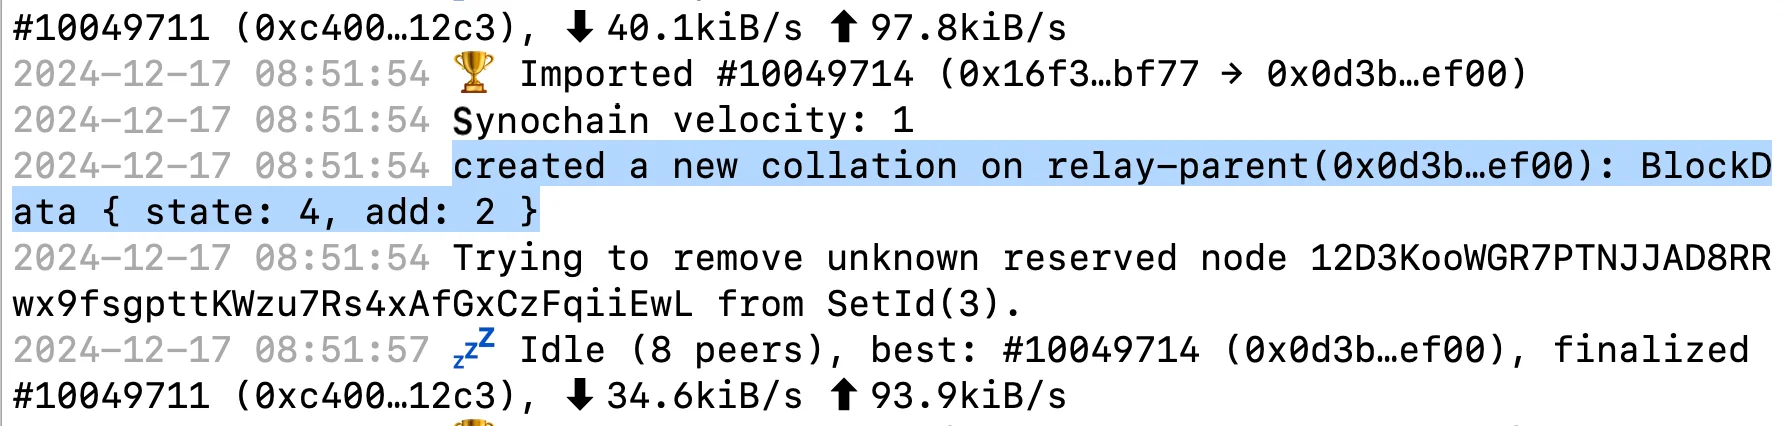
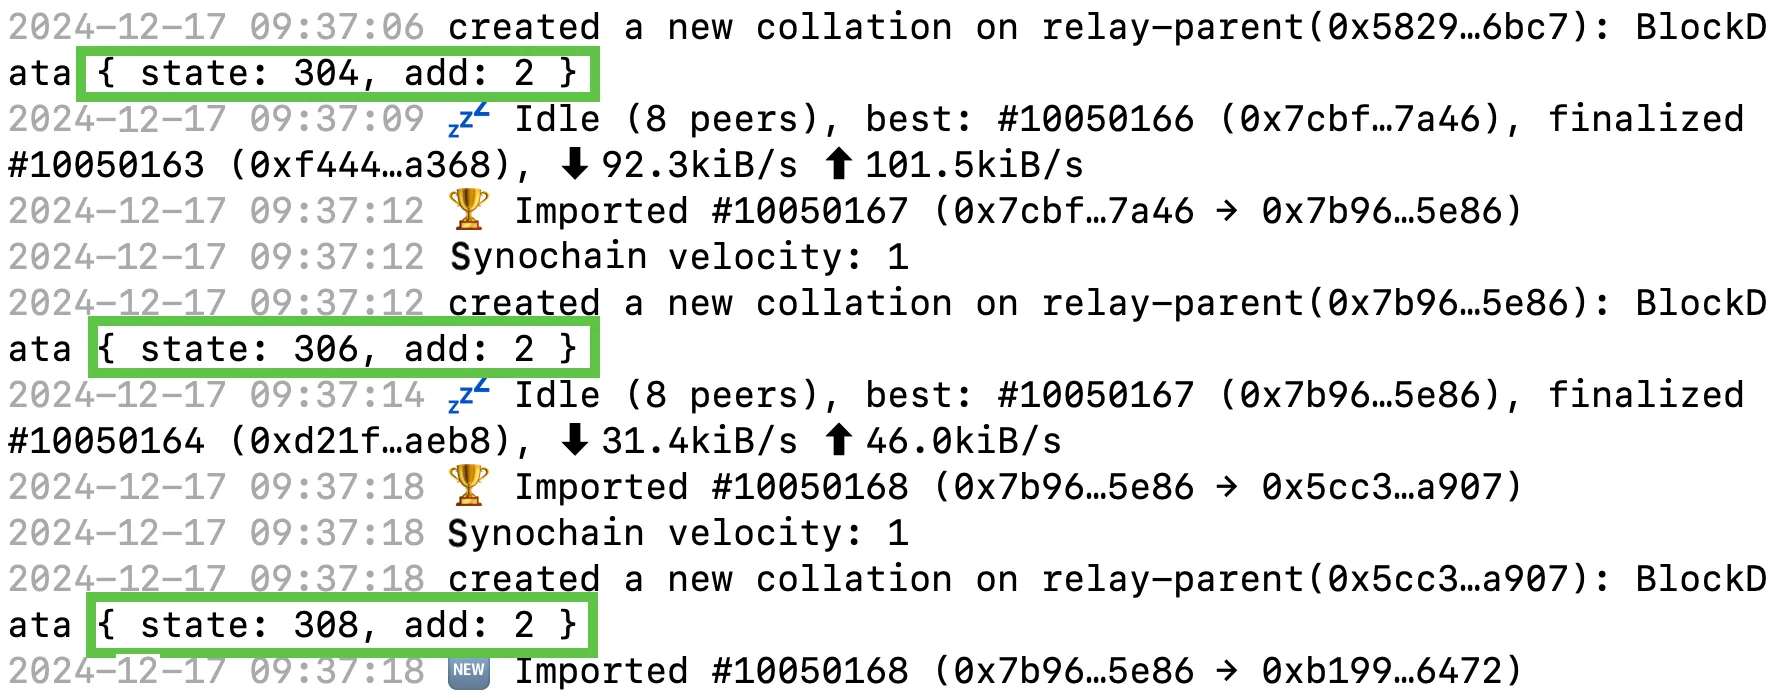
After successful assignment of the core, the adder-collator logs show new collations at regular
intervals, gradually incrementing the state by 2.
Run a Synochain with On-demand Coretime
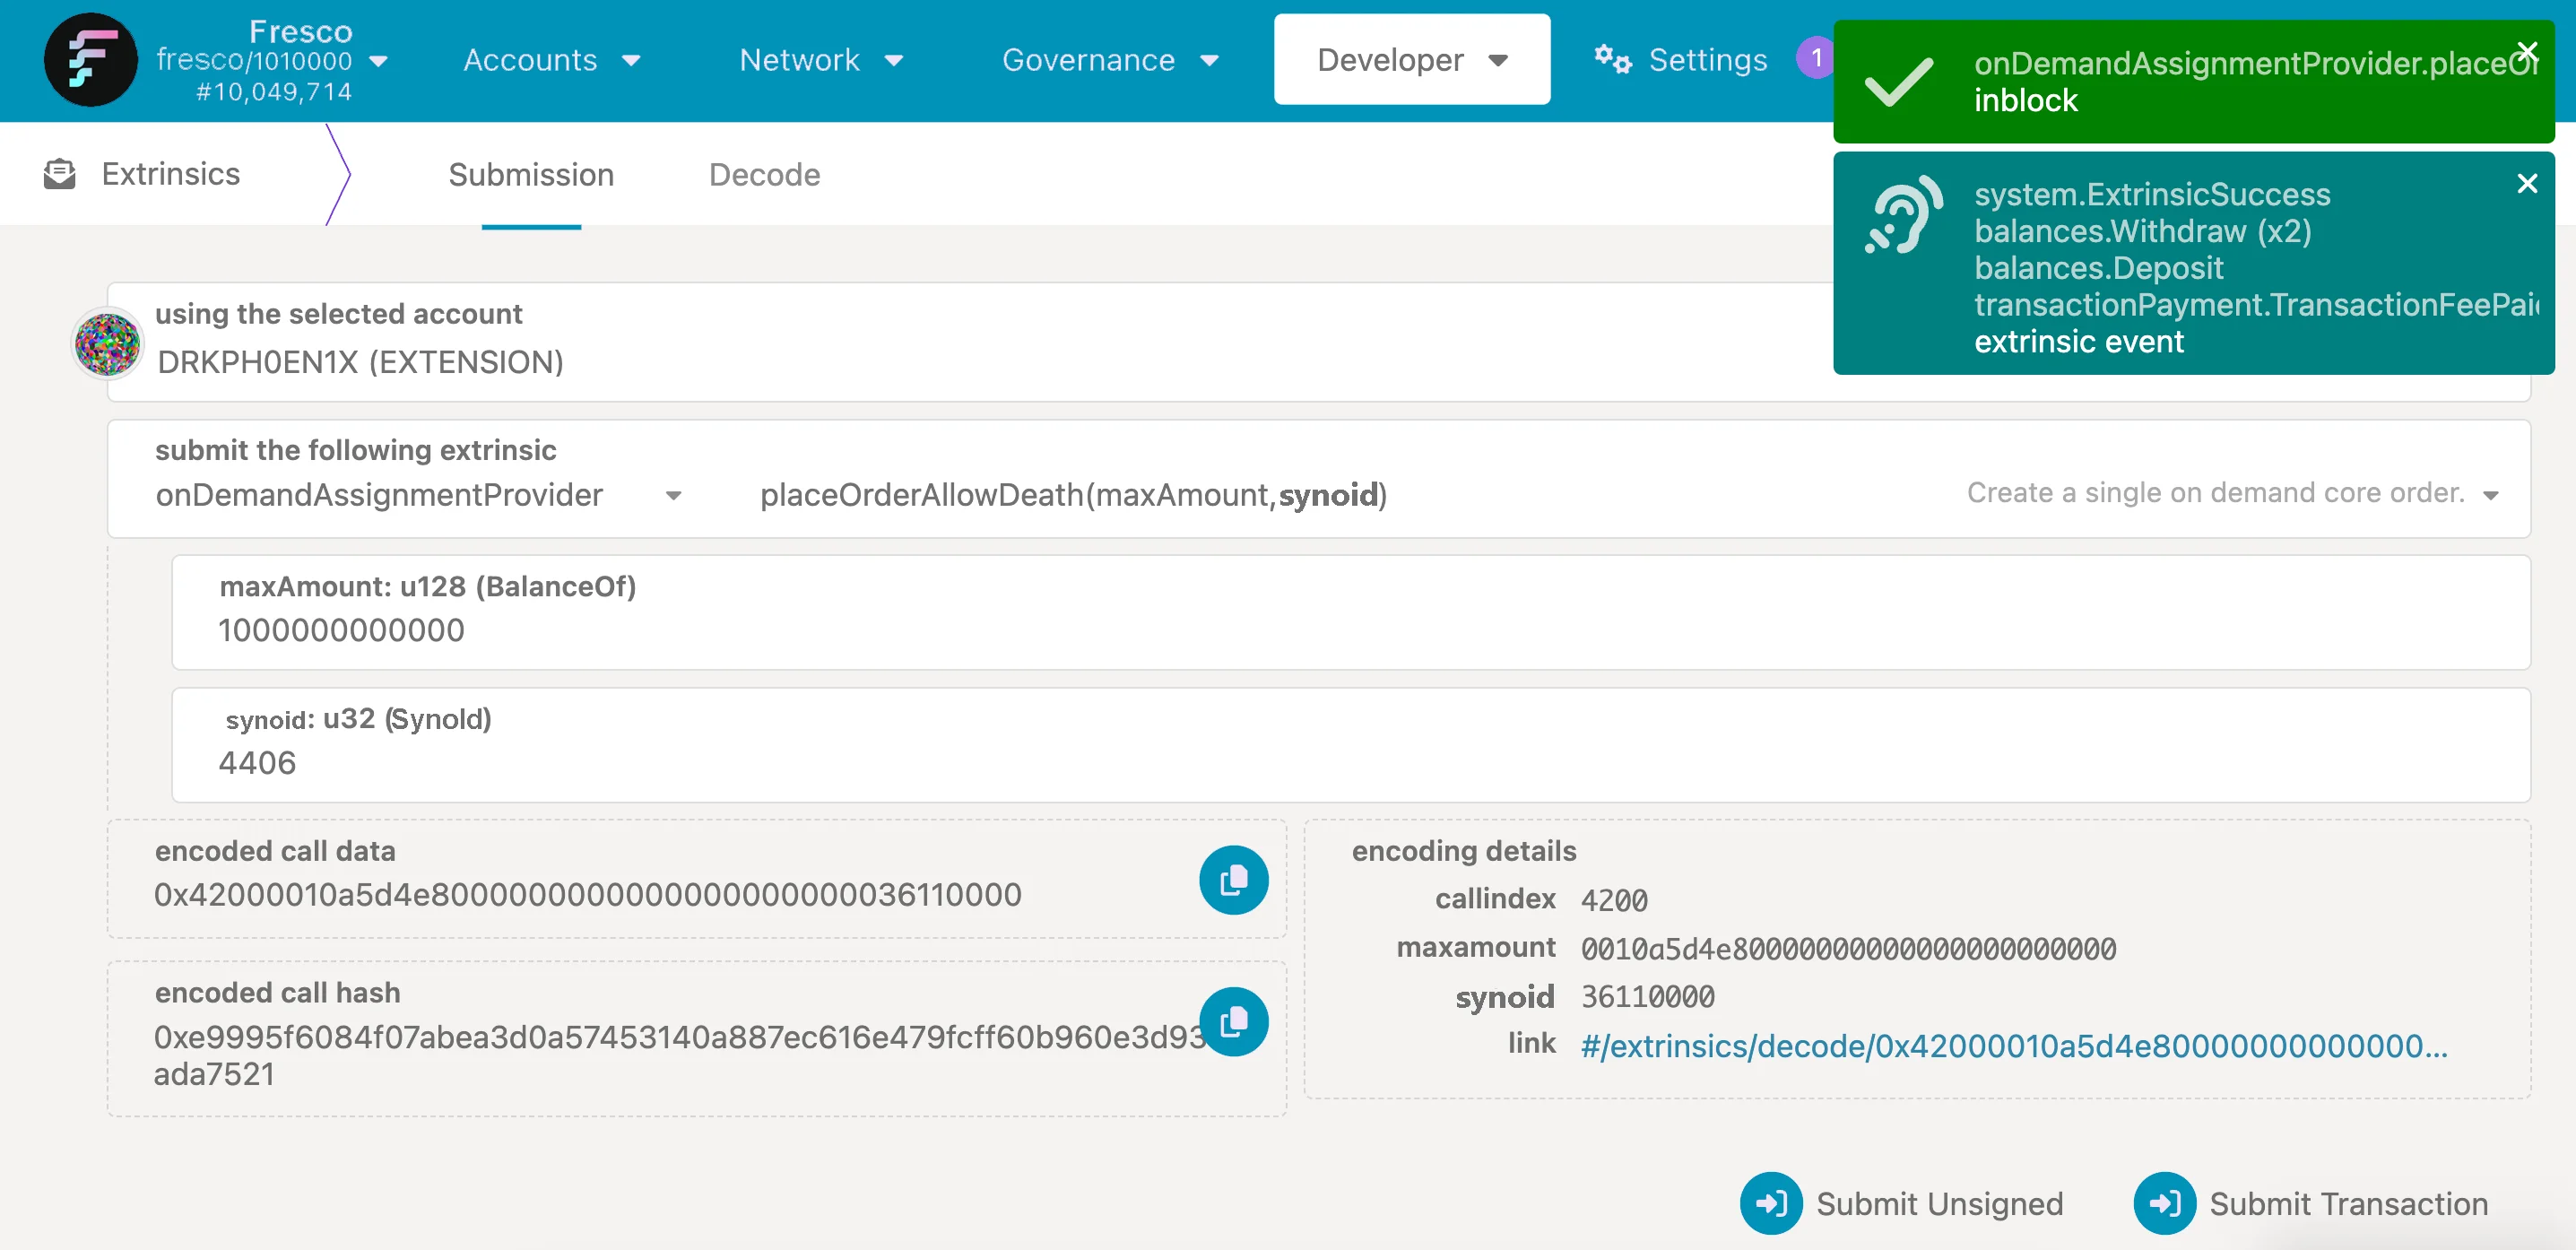
After the collator node is fully synced with the relay chain, navigate to
Developer > Extrinsics on the relay chain and issue
onDemandAssignmentProvider.placeOrderAllowDeath extrinsic from the account that registered the
SynoID by specifying sufficient maxAmountfor the transaction to go through successfully.
There are two extrinsics which allow you to place orders for on-demand coretime:
-
onDemandAssignmentProvider.placeOrderAllowDeathwill reap the account once the provided funds run out. -
onDemandAssignmentProvider.placeOrderKeepAliveincludes a check which will not reap the account if the provided funds will run out, ensuring the account is kept alive.
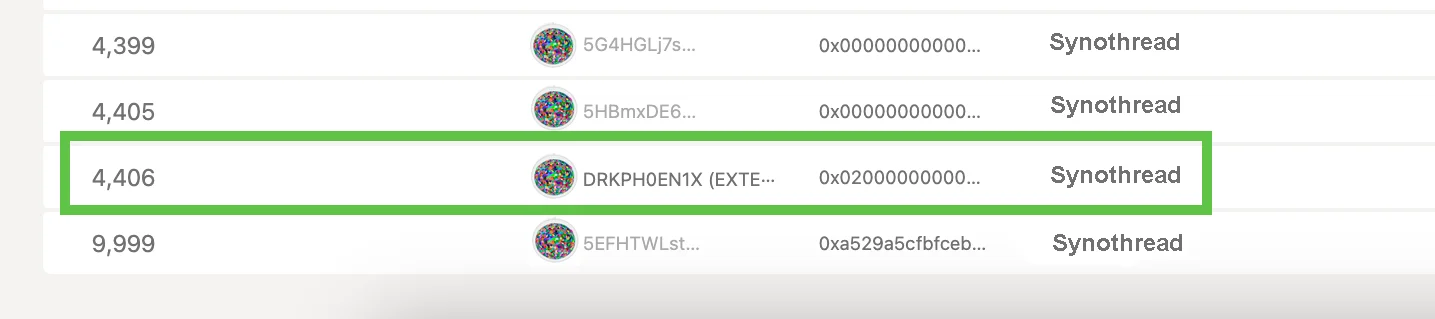
With each successful on-demand extrinsic, the synochain head changes (you may have to zoom out on the browser for synochain head details to show up on Bitzal-JS UI).
The successful collation can also be verified in the synochain collator logs. It can be noticed that
with each synochain block, the state of adder-collator is incremented by 2.